- Why Restore MAC to Factory Settings
- How to Backup Data before restoring MAC to its Factory Settings
- Guide to Restoring MAC to its Factory Settings
- How to Recover Lost Data after Factory Settings
- Video tutorial of Mac Data Recovery
For many users working on complicated software programs, tampering with the settings of their MAC can get tedious. There are instances after the installation or during the working of an application that the device begins to experience some trouble. While backing up of data beforehand is always advisable, it is not always to restore the Operating System. With a few applications, chances are that you might end up tampering the core settings that include the hardware and software. Therefore, users tend to opt for factory settings that can get them back to square one without having to face much hassle. In this article, we are going to distance various aspects surrounding the restoring of MAC to its factory settings.
Part 1 Why Restore MAC to Factory Settings
The basic reason to restore MAC to its factory settings is that over a long period of usage, the MAC gets too much data files and software junk files accumulated. While some of the files are use consistently, there are many files that are rarely or never used. However, the major issues lie in the space that is occupied by these files. This makes the system messy, slow, and often causes other applications to stop working.
Upon Restoring MAC to factory settings, the following events occur:
- The data, software, applications, and files that have been stored on your device will be deleted.
- The modifications made to the settings will be undone.
- The system will only be left with default apps and software programs.
- The OS X you have been working will be removed, only to be replaced by a fresh copy of the same software.
Users, after restoring their MAC to its Factory Settings, are free to install the software programs that they wish to use. However, there is also the need to take the data backup before restoration to its factory settings takes place.
Part 2 How to Backup Data before restoring MAC to its Factory Settings
In the following section, we shall discuss the procedure to backup your critical data before you move on to restore your MAC to its factory settings.
In the following steps, we shall take the backup using Time Machine and an external hard drive.
1) One needs to have an external hard drive with sufficient storage capacity. Ideally, choose a hard drive with storage twice that of your MAC. We go for this precaution knowing how fast the space gets filled up.
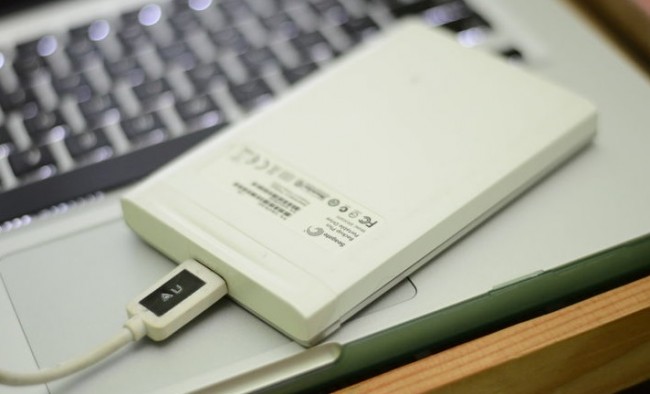
2) The external hard drive must be connected to the MAC. This is usually done through a USB cable, Firewire, or eSATA.

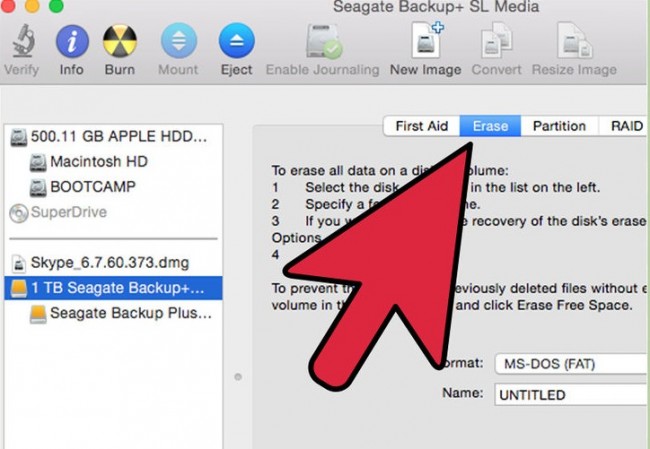
3) It is important to format your external hard drive as that would ensure that the files are properly placed for a MAC in case of retrieval in the future.
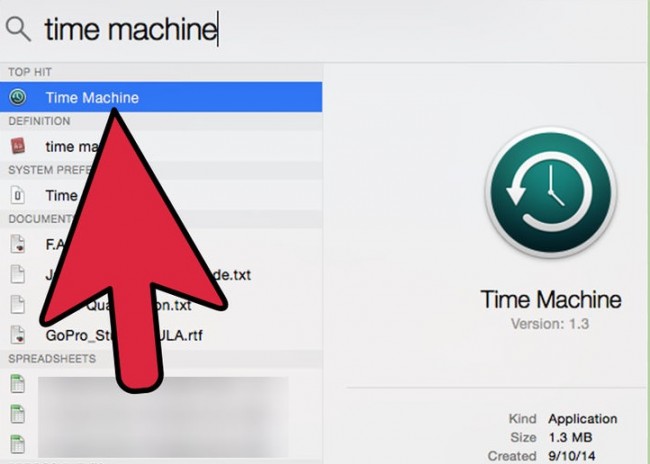
4) The next step involves launching the Time Machine application. Fortunately, this comes with the MAC OS X. For the ones who can’t find it, it can be accessed through System Preferences.
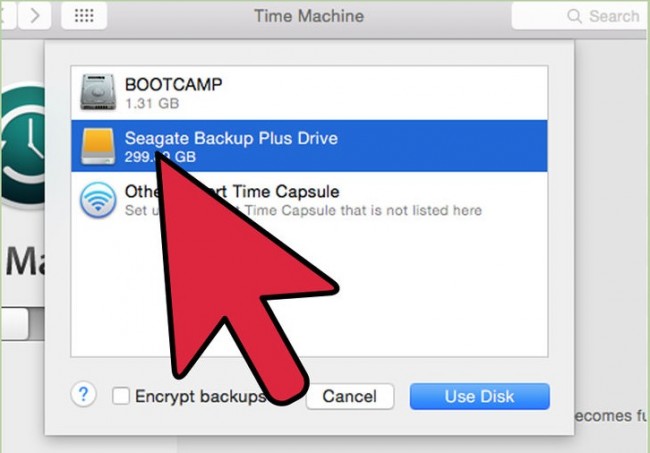
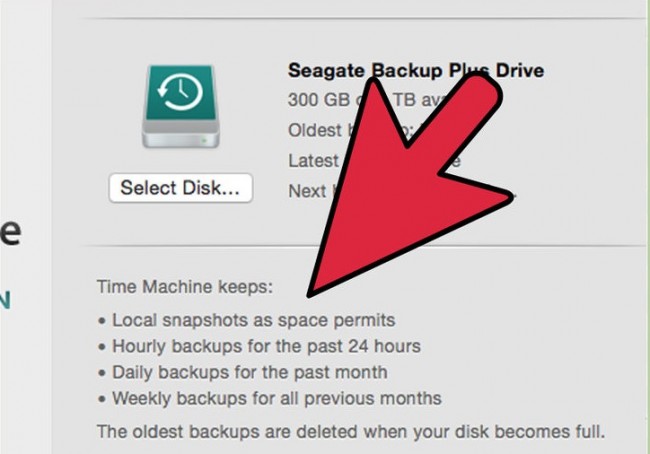
5) Please designate your external hard drive as the Backup Disk for your MAC Data when there is a prompt through a dialog box.
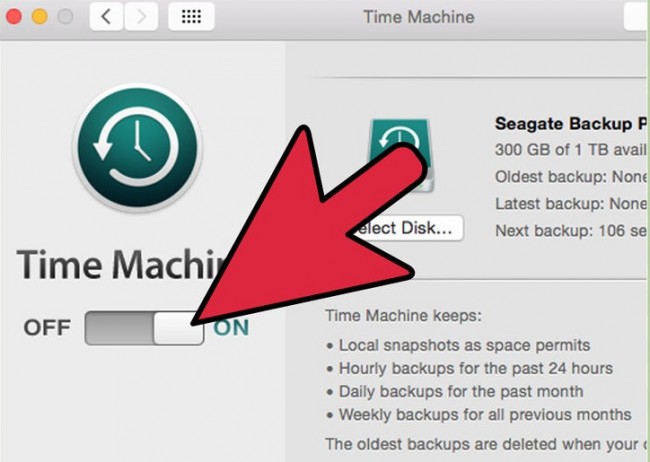
6) You then have to turn the Time Machine On. The backup utility will automatically start backing up your MAC. You will need to allot, maybe, an overnight for the backup to take place. This usually depends on the amount of data you carry in your MAC.
7) One can also schedule frequent backups with the Time Machine. Conventionally, the Time Machine would backup your data hourly, unless you have made other customizations. Time Machine helps create incremental backups of the current state of the data stored on your MAC and this helps the user to go back in time and get back any missing file or data.
Part 3 Guide to Restoring MAC to its Factory Settings
There are a number of ways through which you can restore your MAC to its Factory settings. In the following section, we shall first discuss restoring your MAC from Recovery. This is the simplest method to restore your MAC to its factory settings.
1) Power on your MAC.
2) As you hear the startup sound, hold the Command and R keys on your keyboard.
3) Once the Apple logo appears on your screen, you can release the keys.
4) You can either connect your MAC to the internet using an Ethernet cable, or, when prompted, select the specific WiFi Network.
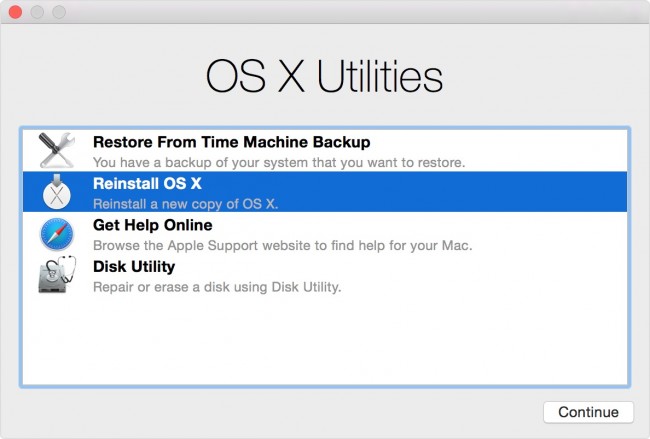
5) Once the recovery menu appears on your screen, you can opt for the option of installing OS X.
6) You are now required to follow the onscreen prompts and select your destination disk and complete the installation for OS X.
Through these steps, you can reinstall the latest version of OS X that you had previously been using on your MAC. For the ones who are looking to restore MAC to its factory settings using the same version of OS X, they must hold Command-Option-R at startup instead as this starts the MAC from Internet Recovery.
Part 4 How to Recover Lost Data after Factory Settings
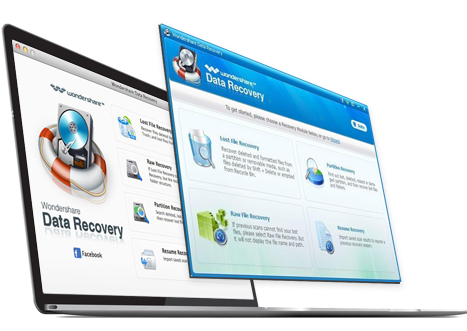
Now, the next issue that we all face is to restore our data after we have successfully manager to restore our MAC systems. While users might be confused between quite a few third-party applications that promise to achieve this functionality, there are not many that can get the job done. Therefore, we take this section to discuss Wondershare Data Recovery specially designed for the MAC Users.
- Recover files in 550+ formats from any storage device quickly, safely and completely.
- 3 recovery modes to help you recover lost files in different situations.
- Supports data recovery from USB flash drive, recycle bin, hard drive, memory card, digital camera and camcorders.
- Preview before recovery allows you to do a selective recovery.
- Supported OS: Windows 10/8/7/XP/Vista, Mac OS X (Mac OS X 10.6, 10.7 and 10.8, 10.9, 10.10 Yosemite, 10.11 El Caption and 10.12 Sierra) on iMac, MacBook, Mac Pro etc.
Available for download from the company’s website, this data manager can prove to be quite helpful if you are looking to restore your data the easy way. For the ones looking for tedious and complicated methods, we recommend some other Mac data recovery software.
Here are the steps to help you restore your data with Wondershare Data Recovery for MAC:
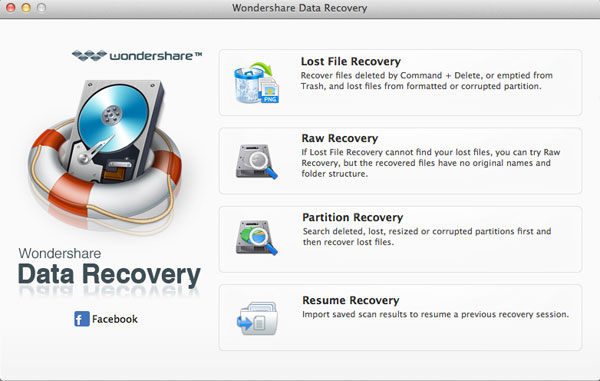
1) Users are required to start by opting for the required recovery mode. This would depend on how the data you are trying to restore was lost in the first place;
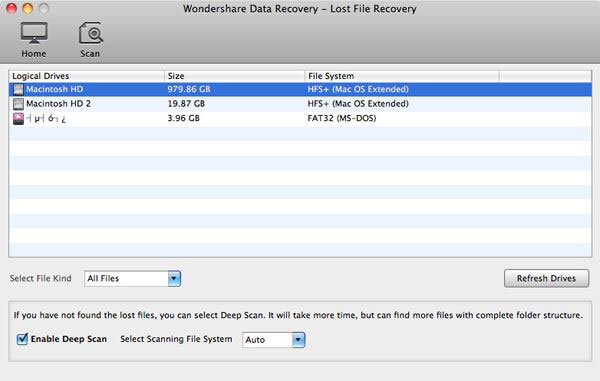
2) Follow this by scanning your device/computer, and then choosing the path/location where the data loss originally occurred. Tap on ‘Start’ to carry forward the process.
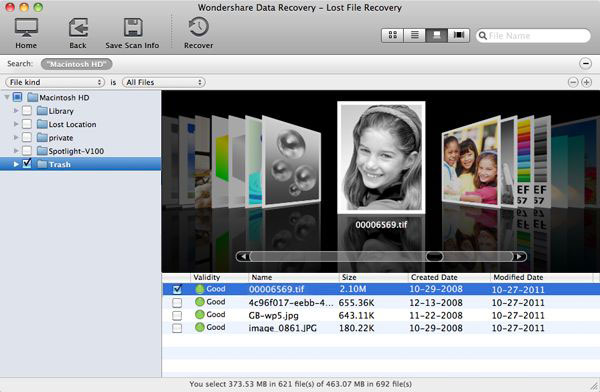
3) Selective Recovery is made available to the users. Therefore, simply preview, recover, and save your files.
Restoring your MAC to its factory settings is not difficult. What matters is how you manage your data in the entire process. Using Time Machine, you can take a backup, but if you use your data before that due to application bugs, errors, and unforeseen shutdowns, you have the luxury of Wondershare Data Recovery Wizard for your device.